Restoration Paintwork
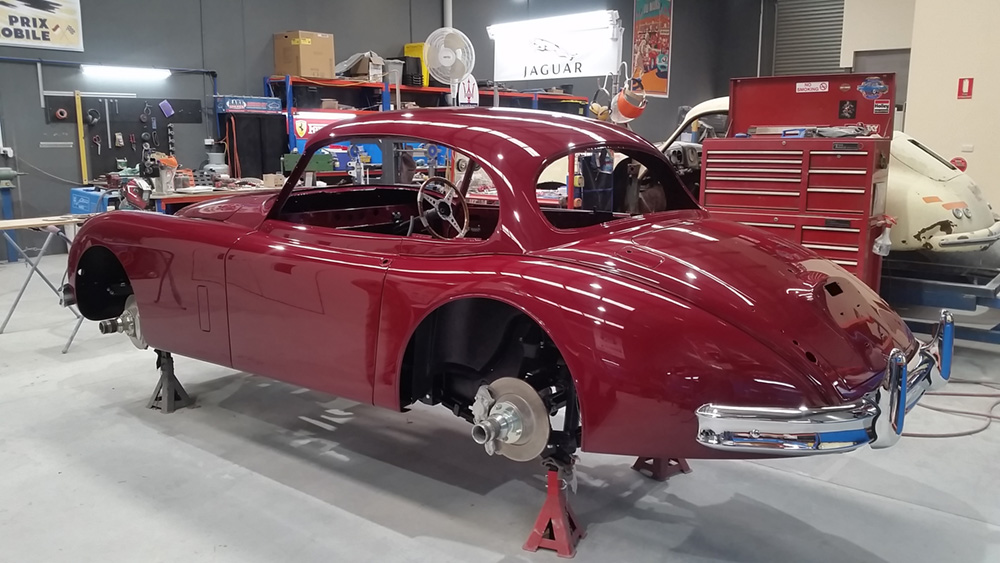
At Greg Newton Restorations we have two qualified spray painters with more than 50 year’s experience between them. Furthermore, the tradesman that starts the paintwork finishes it, right through to the final polishing stage. We believe this to be a far more personal connection as he holds the importance of his name being held aside the finished coats and the underlying materials supporting them for the decades to follow.
Speaking of materials, we only use the world's leading brands that have proven products time and time again. Our trusted partners in classic sports car painting are, Glasurit, Sata, 3M, Deerfos, Smirdex, Bostik, and Wurth.
One of the very first stages of painting a classic car is well before it is time to stir the paint cans. It is in fact as soon as the car arrives and is being dismantled. This is where we go on an exploratory quest to find samples of original factory paint in places found around the car where colour has been protected from the elements. Quite often these places are covered in overspray of other paint work that has occurred over the life of the car so it may be necessary to slowly sand back the coats of paint until the original is exposed and then polish it up to get a colour sample.
Many paint manufacturing companies have paint codes for older cars still on record and I would imagine Glasurit to have more classic car formulas than any other considering the fact that they have been around since 1888. However, these formulas are close but not always an exact representation of the original tones. The pigments in paint used 30 years ago are very different to the pigments used today, so trying to match something about 70 years old is not that simple. What may have been just 3 or 4 tinters used to produce a specific colour, may well need several more today to create the same tones. We would evaluate the situation and modify the formula to our own discovered colours if we feel the original sample is not authentic enough to what we find hidden within the car.
Some of the original manufacturer’s paints used were Enamel, Nitrocellulose and Acrylic. Often these paints only lasted a few years before they saw serious deterioration which of course only leads to exposed metals and rust. Even the metallics used then are different to what we use today. Metallic particles of decades ago were usually so fine you could hardly see them.
Today, in the world of two component paint systems, we have some amazing technology to scan paint samples and create paint codes, we have vast array of tinters and many different types of metallic tinters to create or hone in on any colour imaginable. We even have the ability of using different types of UV stable clear coats with varying finishes of gloss. Believe it or not, there is even additives to add to base coat metallic colours to change the angle that the metallic particles sit at within the paint, increasing or decreasing the effects with light.
The paint that we use today even cures differently. Enamels and Acrylics from the past would evaporate dry with modest ambient air temperatures, often still curing while the cars are out in the weather travelling around for weeks after they are finished. Whereas today, a two-component paint has a hardener to activate the drying process. This is done in a timely manner within the controlled environment of the spray booth which will also cure the paint right through during the baking cycles that reach temperatures of 65C (150F). This method is applied to all the different paint surfaces throughout the painting process, not just the final coat of clear.
The individual painting process.
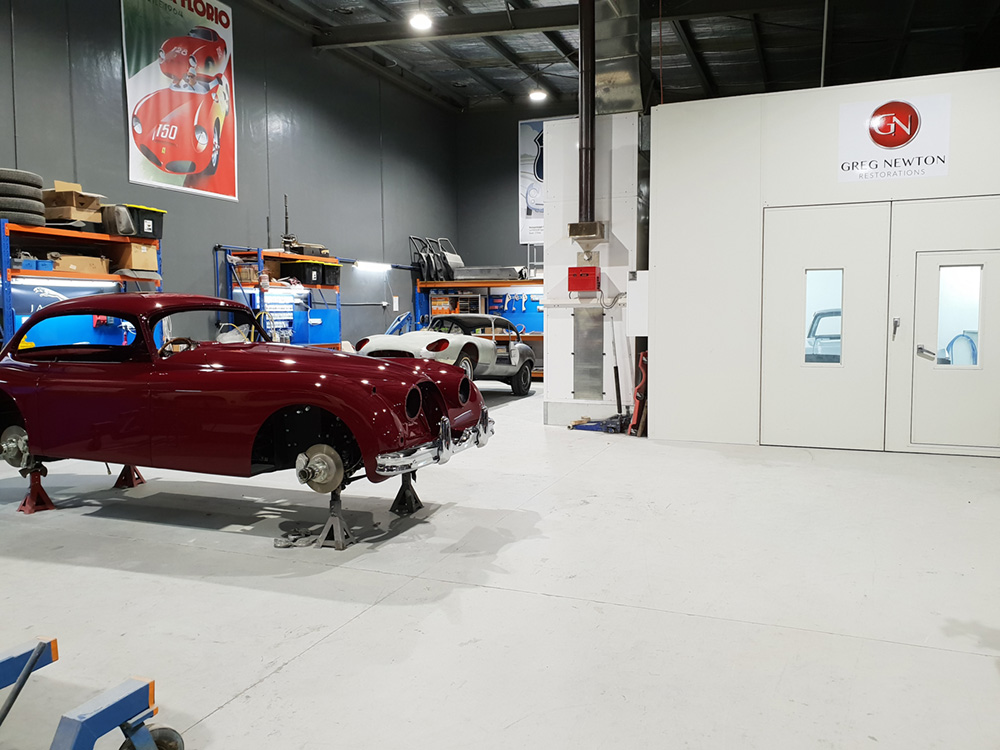
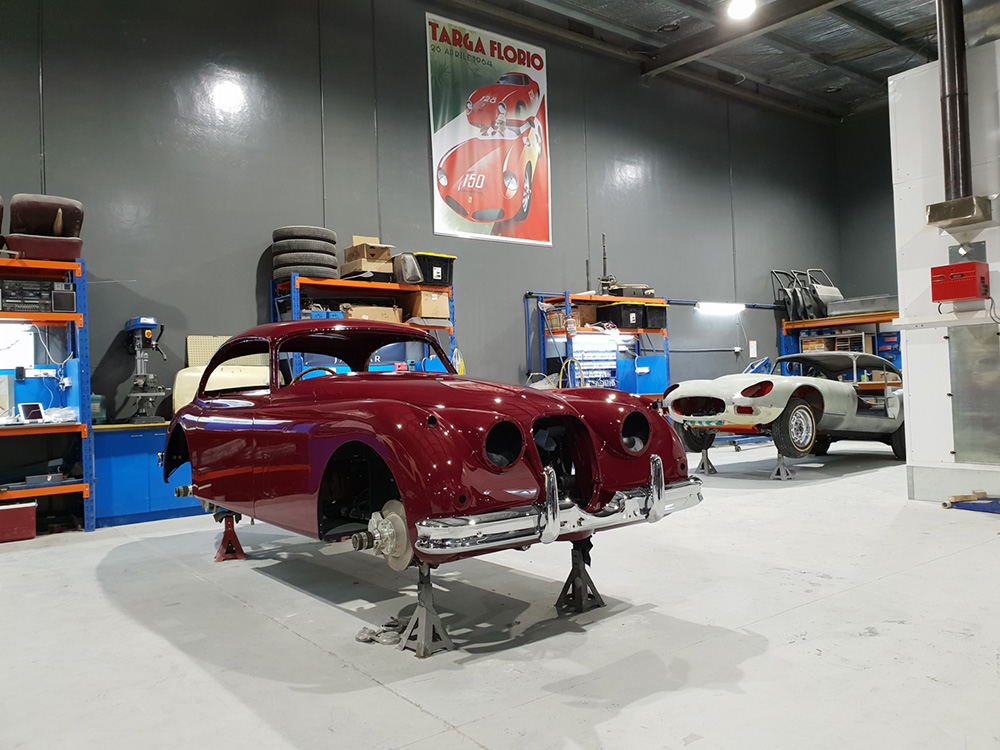
After the metalwork is completed and all the chrome work is finalised the painter would inspect the vehicle with all the bright work in place. This inspection would also involve the coach builder that has just finished the bodywork, because at this point in time, nobody knows the body as good as he does. The body is cleaned with a chemical to rid all of the oils and waxes that were used to preserve the bare metal during the time the coach building. After this the metal is cleaned with a deoxidising chemical which returns the metal to an absolute raw state. The bodywork is then sanded to the pinnacle of cleanliness and all leaded areas of bodywork is treated with the same respect.
Once the metal is this clean and ready for priming it must be sealed up within a few hours, therefore, sometimes it is not possible to finish preparing an entire body with the hope to Prime it all-at-once, sometimes it needs to be done in stages, to ensure no moisture contaminates the clean metal before the first coat of primer is laid down. For example, you would never prepare a body for priming, leave it overnight and Prime it the next day. The primer that is used at this stage is one of two things it is either an epoxy primer or an etch primer.
After the car is entirely sealed, the stage of fine filling and light weight polyester work can commence. This entails a lot of blocking and sanding with long criss cross action strokes with grits grading from 40 grit up to 180 grit abrasive papers. This is one of the most important components of painting a classic car because it is the foundation of what you will see at the end. A lot of time goes into checking body lines and contours with straight edges of many lengths and profile gauges to keep an eye on symmetry as it moves along.
Everybody wants a paint finish with a perfect reflection. The only way this can happen is with one magic word, convex. If you imagine sitting at the side of a large pond on a still day you would see a perfect reflection of the sky above and whatever is on the other side of the pond. As we have proved in the past, the earth is round, so the water surface is certainly not flat, it is a convex shape. The same theory applies to every panel around the car, they must have such a small amount of convex to still look flat, but have just enough to show a perfect reflection.
Just like when we are setting up doors and body skins in the metal stage, we also have all the locks latches and rubbers in place when we do the polyester stage. This ensures that the panel fit, gaps and radius lines will all look just as good when the paintwork is finished. The bonus feature here is that the bonnet and boot will close without you having to sit on them and the doors will close without you having to punch them closed with your hip. I still cringe when I see this happening in shopping centre car parks.
Once the polyester stage is confirmed to be perfect, the car can then be sealed up once again. Wherever there is exposed metal, another coat of Etch primer or Epoxy primer is applied and then the entire body of the car would then be coated in a Hi-fill primer. The Hi-fill primer is also baked while it is still in the oven to cure it through, this allows for any material shrinking before further sanding commences.
The sanding of Hi-fill primer starts a little similar to the end of the polyester stage. Long criss-cross strokes with long blocks but now finer abrasive grit papers start to be used. We would start with a 240 grit dry sanding with the long blocks and convert to wet sanding with 600 grit and 800 grit abrasives. Guide coating before each change of grit grade gives us the indication when we have removed the scratches from the previous abrasive paper. This also ensures to not take too much of the Hi-fill primer off and risk rubbing through to the polyester or metal underneath. Once the car has been completely smoothed out and sanded down with 800 grit paper, the body is ready for seam sealing, masking and top coating.
We use a urethane Bostik seam sealer that has been tested buy us for shrinking and cracking, confirming its abilities before we store it in our paint shop. The reason for this is because cracked seam sealer is one of the first places for moisture to get into a welded seam and cause rust to get embedded into the new body work. So, certainly not just any old sealer used here. Once it is cured the car is chemically cleaned again and masked up before finally seeing some colour.
There are two basic systems that we use today, one is a two-component (2K) single stage paint which can only be a solid colour. This is basically a paint colour mixed with a hardener and we simply spray two coats over the prepared surface and then bake it up. The other system is a Clear-Over-Base (COB) system, which is applying three to four coats of a base coat colour mixed with a reducer (thinner) followed by two coats of a two-component (2K) clear. The latter is the more commonly used as the base coat can be mixed as a solid colour or a metallic colour and the clear coat offers far better UV stability, polishing advantages and even minor scratch resistance.
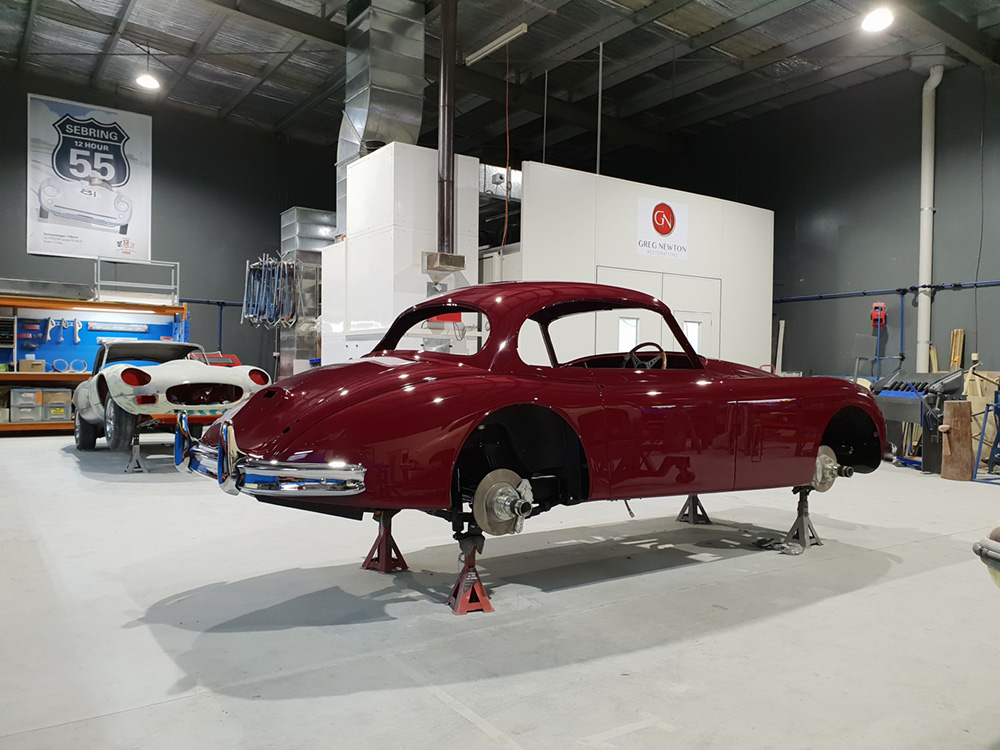
The difference between modern paints and older paints also extends to the actual surface. Older paints would be quite flat to look at on the surface where is modern paints that you see on brand new cars today have an orange peel look. This is widely accepted as a beautiful finish however we take it one step further and colour sand the surface of the cured painted body and polish it back up to a full gloss. This gives the best of both world's as it leaves a perfectly flat surface like an original manufacturer’s classic car finish and a lasting shine. The flat surface will also enhance the reflection, remembering it is had many hours spent in creating perfection.
Polishing starts with wet block sanding using 1200 Grit ultra-fine 3M abrasive paper and it is worked right up through the grades to 3000 grit.
The machine and hand polishing start and our grades start from 3000 through to 12000 which leaves the car body looking like a coloured mirror. Once the car is fully assembled it also gets a fine hand wax.
So, if you had gotten all the way to here and haven't fallen asleep, I would hope that you have a little better understanding in what it takes to make a coloured reflection in the shape of the lovely classic car of your choice. We have used these methods now for the last 25 years and one of the greatest points of satisfaction we have as spray painters is seeing a car that we painted 20+ years ago and it's still looking just as good as the day it was finished.
Greg Newton.
